This is an old revision of the document!
Using the Administration Panel
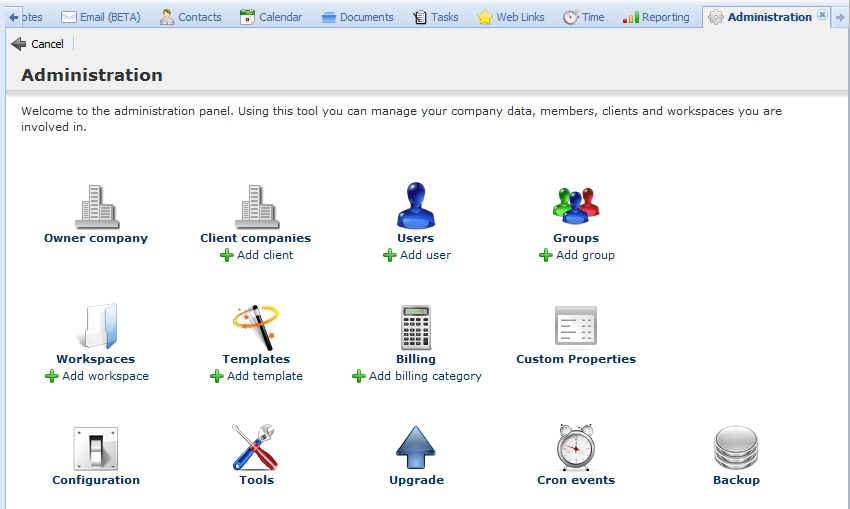
The administration panel can be accessed by clicking on the “Administration” link in the upper right corner. This link is only visible if you are logged in as user with administrator privileges.
From the administration panel you have access to the following settings:
Company
Each OpenGoo installation has something we call an owner company (which may be an organisation or simply a group of people as well). The owner company has the same structure as any other company in your contacts. What makes the owner company different from all other companies is the fact that every user which belongs to that company is a potential administrator of your OpenGoo installation. Users that belong to any another company can never become administrators.
In the administration panel the owner company is simply called company - as opposite to the clients (see below).
The owner company is created at the end of the installation process (see OpenGoo installer), so every OpenGoo installation has its owner company. You can update the owner company info at any time, but you can not delete the owner company. 1)
Since the owner company owns the OpenGoo installation there is no reason to lock certain functions or workspaces from this company. As a consequence there is no screen for setting permissions for the owner company.
Users
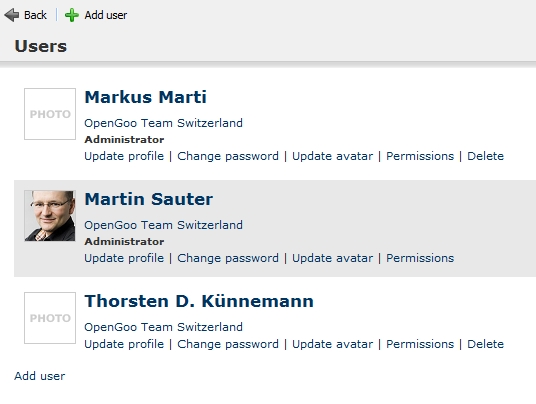
From here, administrators can create, update and delete user profiles. The options here are the same as in your own user profile, we therefore refer to the page about managing your account.
As an exception from the rule you can't delete your own user account; this safety feature prevents you from locking yourself out from your OpenGoo installation. Plus you are not allowed to delete the user account of the very first user account, which is typically the main administrator.
Clients
Clients is just another word for alle companies that are not the owner company (see above).
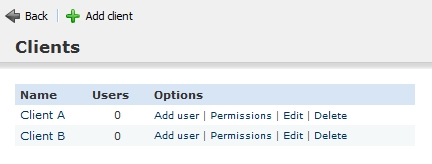
From the administration panel you can add, edit and delete clients, you can add users to them, and you can manage their permissions. To understand the settings for a company, please read Working with companies.
Groups
Groups in OpenGoo is something that is also called roles. It's a set of permissions which can be given to any user. Groups make it easier to manage permissions especially if you have many users.
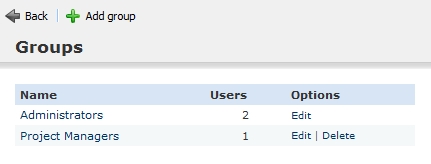
In the administration panel you can create, edit and delete groups. By default there is one group called “administrators”, and as an exception from the rule you can't delete that one.
Workspaces
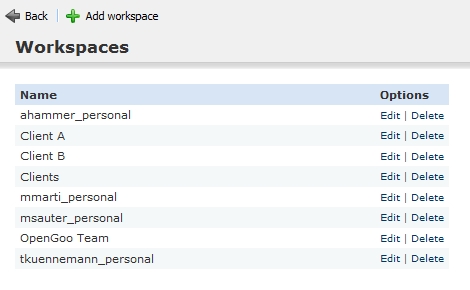
From the administration panel you can add, edit and delete workspaces. You will notice that OpenGoo has automatically created a personal workspace for every user in the system (called <username>_personal, i.e. msauter_personal).
For details about editing workspaces see the workspace properties page. For general information regarding workspaces see Working with workspaces.
Task Templates
(Coming soon… There seems to be a problem with task templates in OpenGoo 1.0 RC1.)
Configuration
General Settings
The general seetings are global (i.e. they are the same for all users).
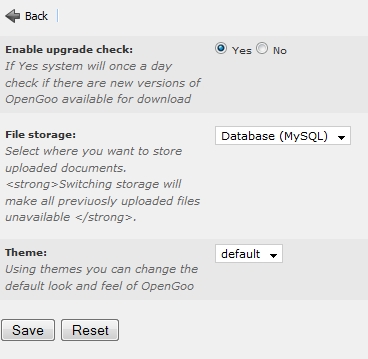
Options in the general settings:
- Enable upgrade check: Checks on a daily basis whether there is a new OpenGoo version available.
- File storage: Let's you choose between storing your documents in the file system or in the database.
- Theme: Let's you switch themes (if installed).
Mailing Settings
The mailing settings let you control how OpenGoo is sending notification mails. These seetings are global as well. (Don't mix up these mailing seetings with the settings for individual e-mail accounts.)
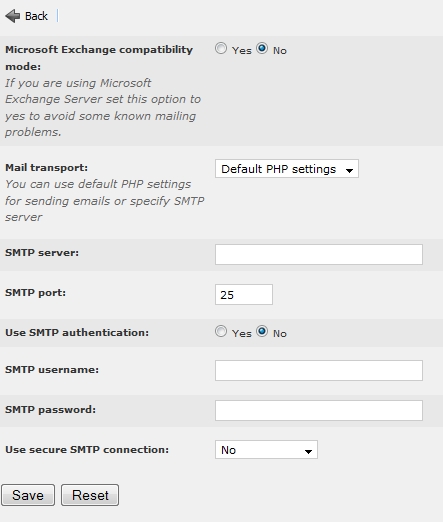
Options in the mailing settings:
- Microsoft Exchange compatibility mode: If you're using a Microsoft Exchange Server, this should help to prevent some problems.
- Mail transport: Lets you choose the method how mails are beeing sent - by the mailing functions of PHP (requires no further configuration) or by a SMPT server (to be specified below).
Tools
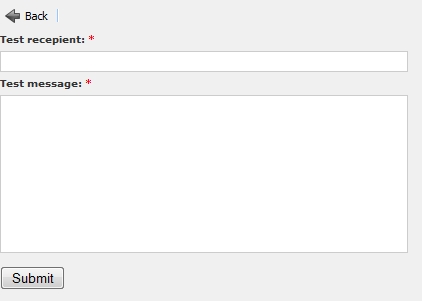
Test mail settings
Mass mailer
A simple tool that lets you send plain text messages to several users at once.
Upgrade
If there is a new version of OpenGoo you can download it here.2)
Backup
The backup menu lets you create a backup copy of your whole OpenGoo installation, including the database and the documents in the file system, and download it as a ZIP archive to your local hard drive.
The process of backing up OpenGoo constists of three steps:
- Launch a backup process
- Download the backup file
- Delete the backup file from the server
PLEASE NOTE: Depending on the amount of data that is stored in your OpenGoo installation creating a backup file my take some time.
For details, simply follow the instructions on the screen:
